Letters, Lessons, and Late Nights: Launching My First Mobile Game
The ABZ Game
My first brain-child, now available in the App Store, developed from a “Geistesblitz”, as we Germans like to say. The first prototype was written quickly, but the journey to the final release took a lot longer than expected. Here are some of the lessons that I learned along the way.
The game is available on the App Store and can be downloaded for free.
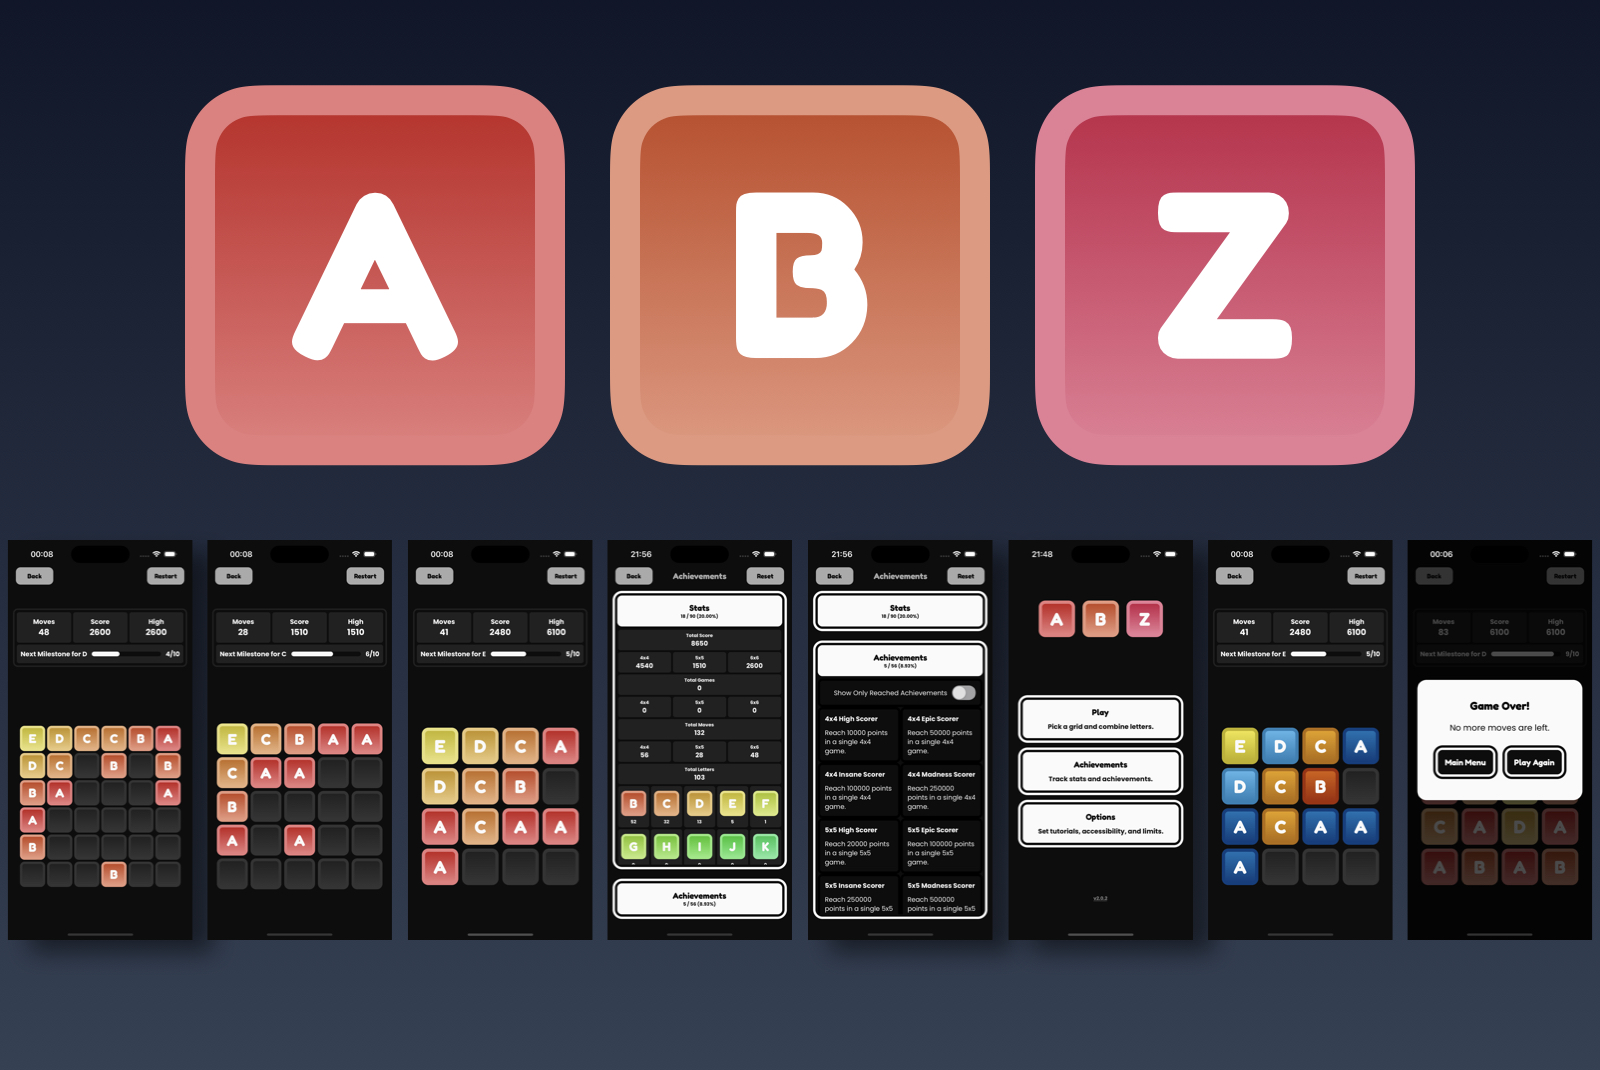
ABZ
Th app is a simple puzzle game inspired by similar swiping-and-combining mechanics. I used the original ideas and gave them my own twist.
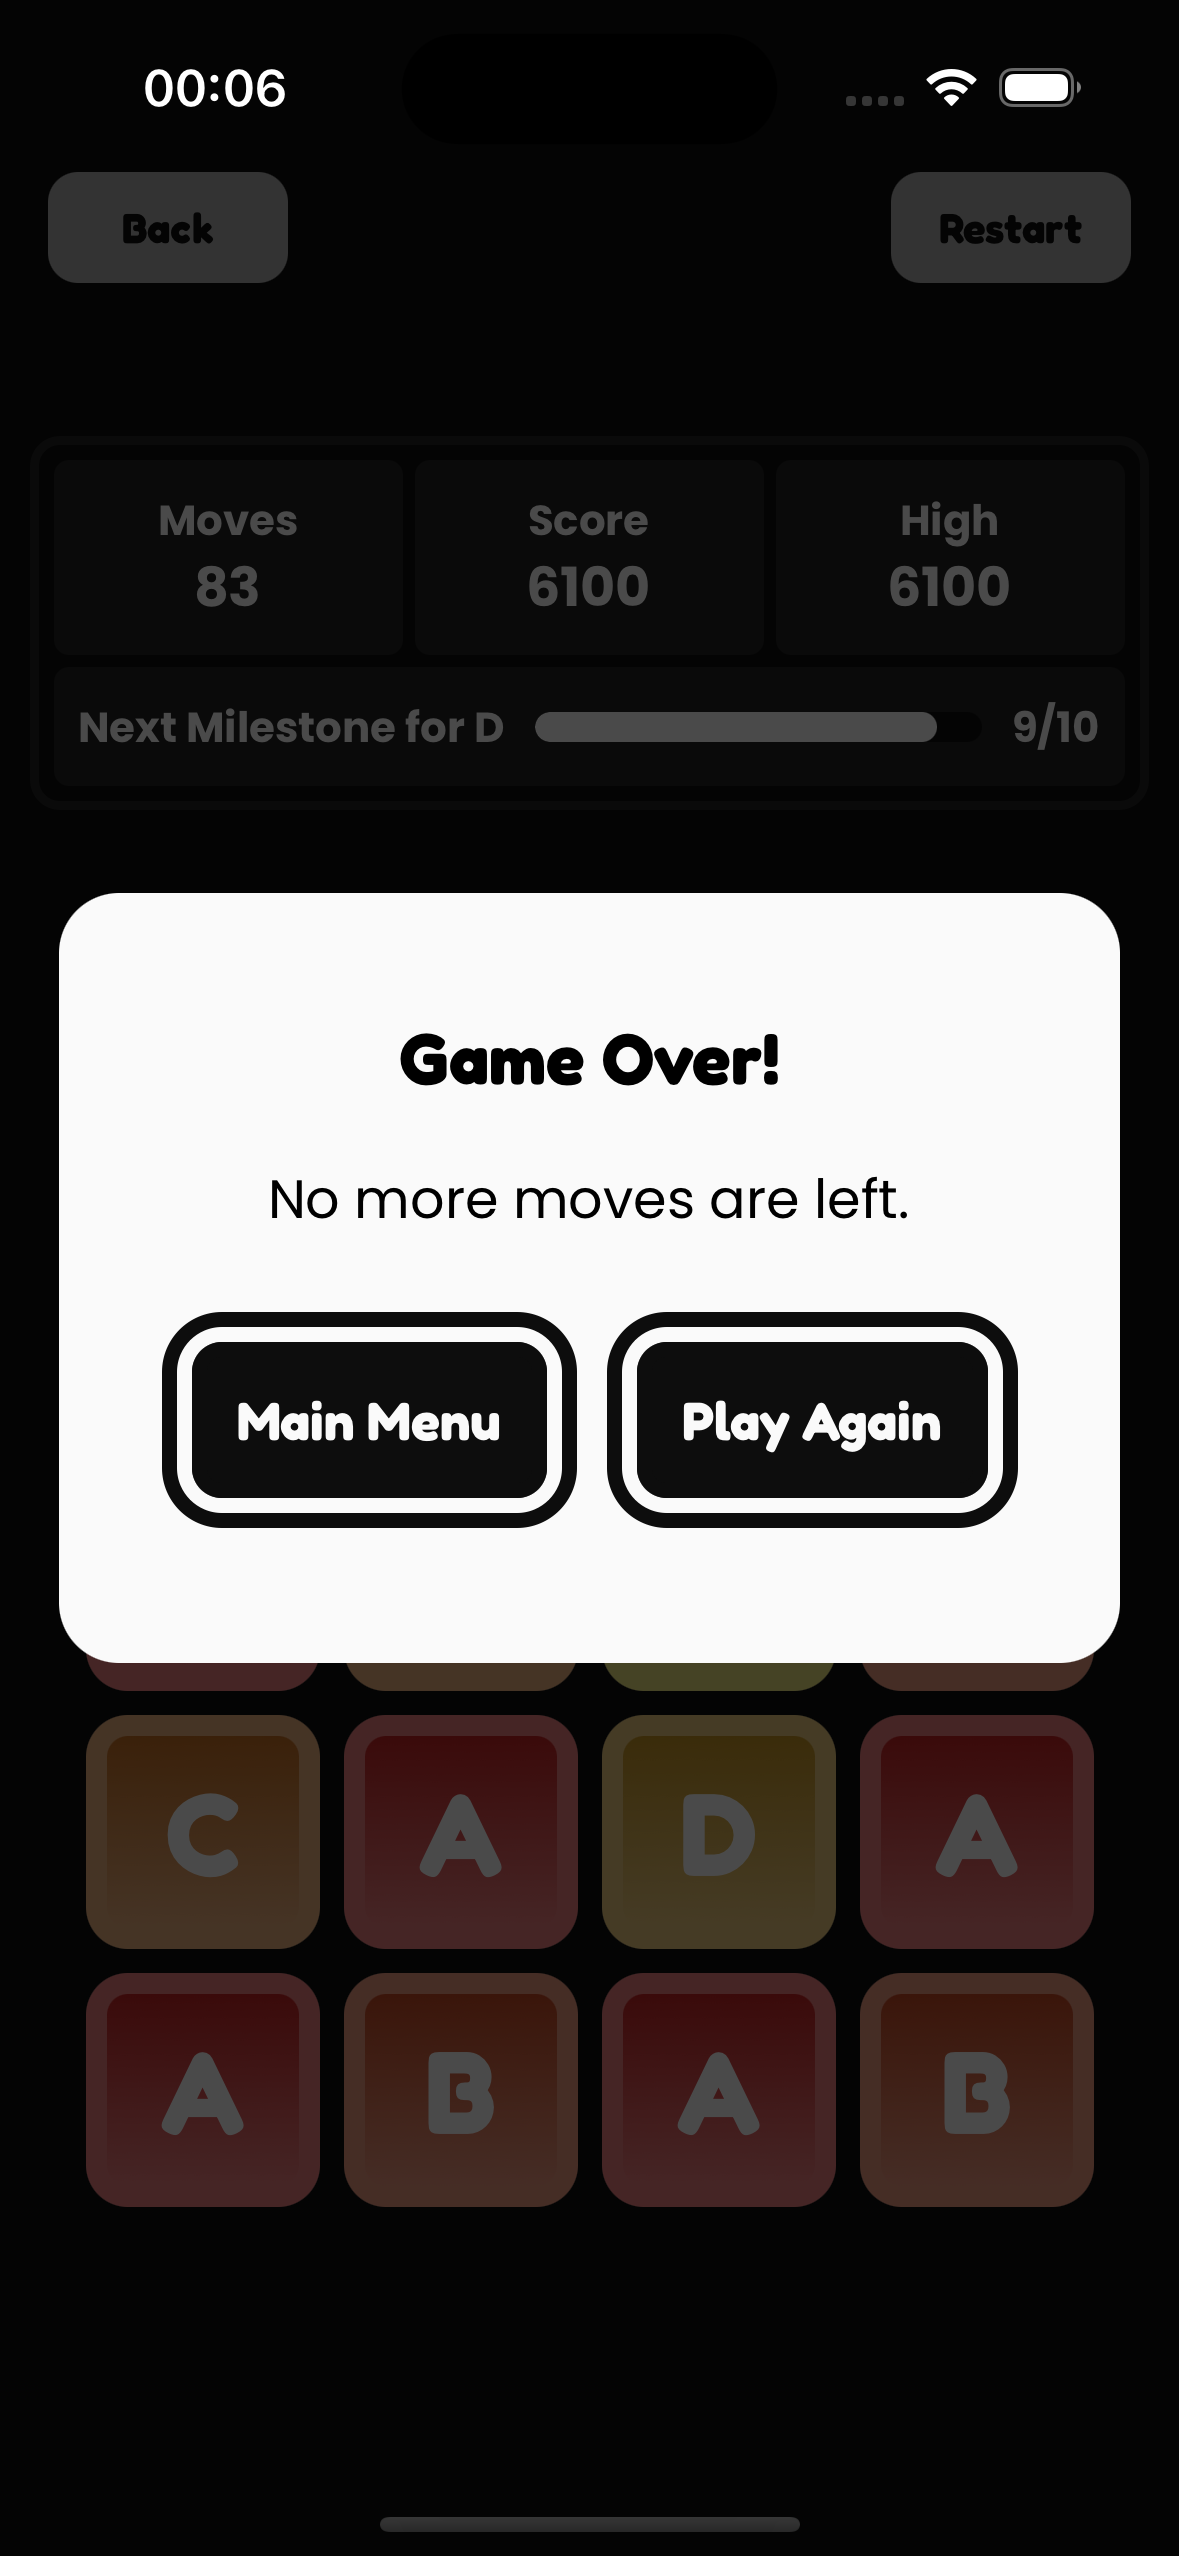
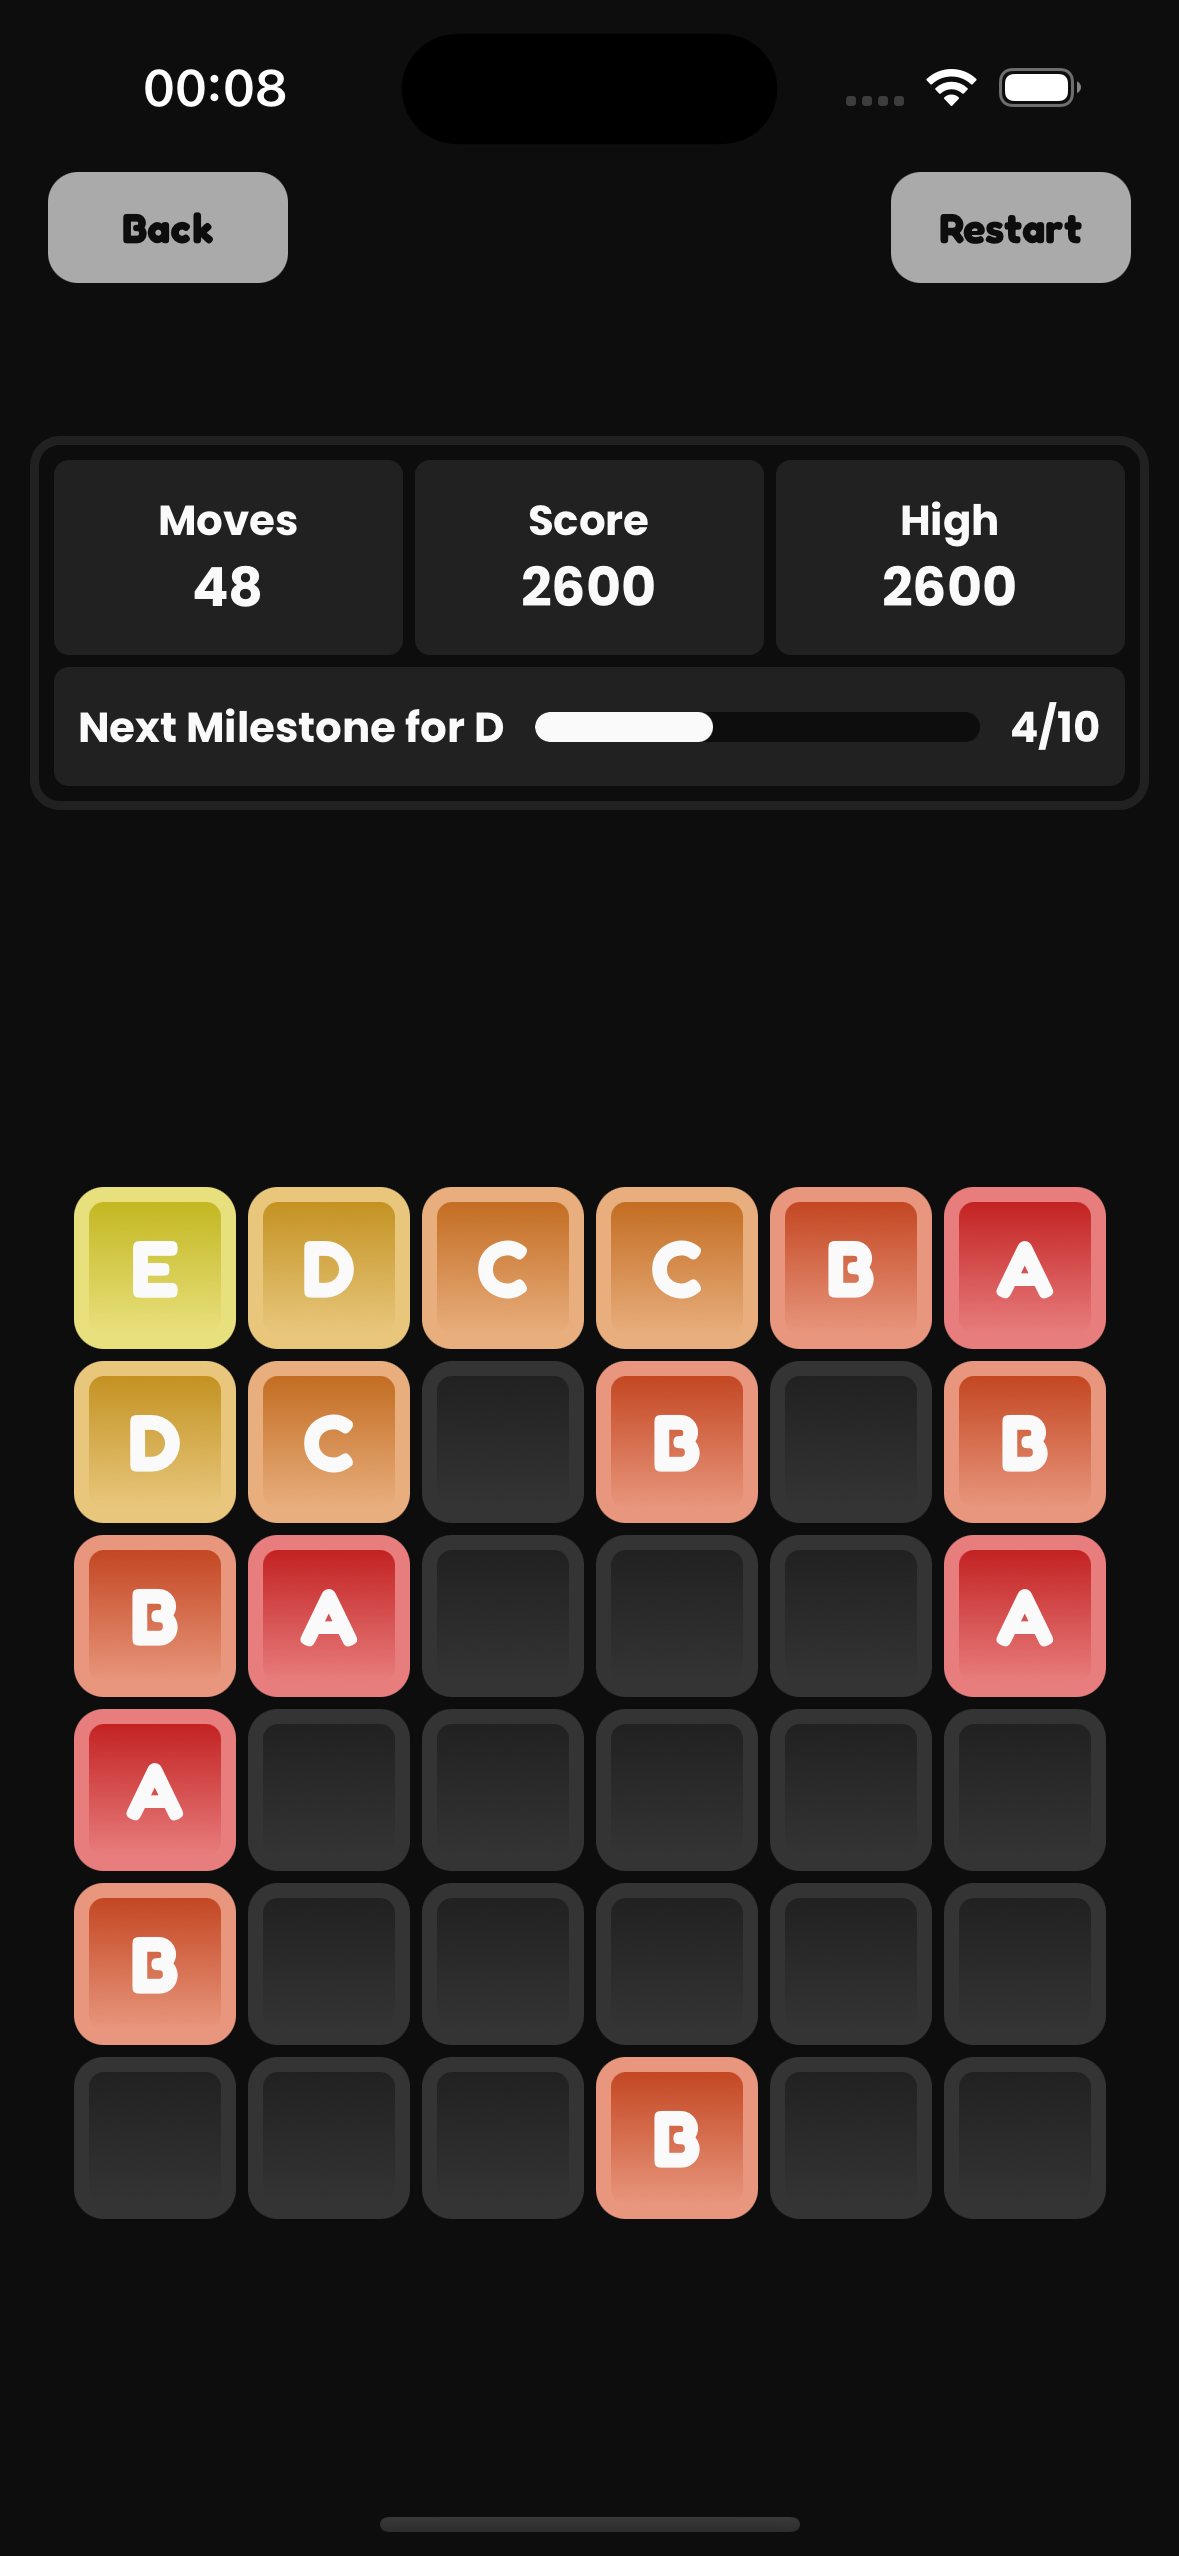
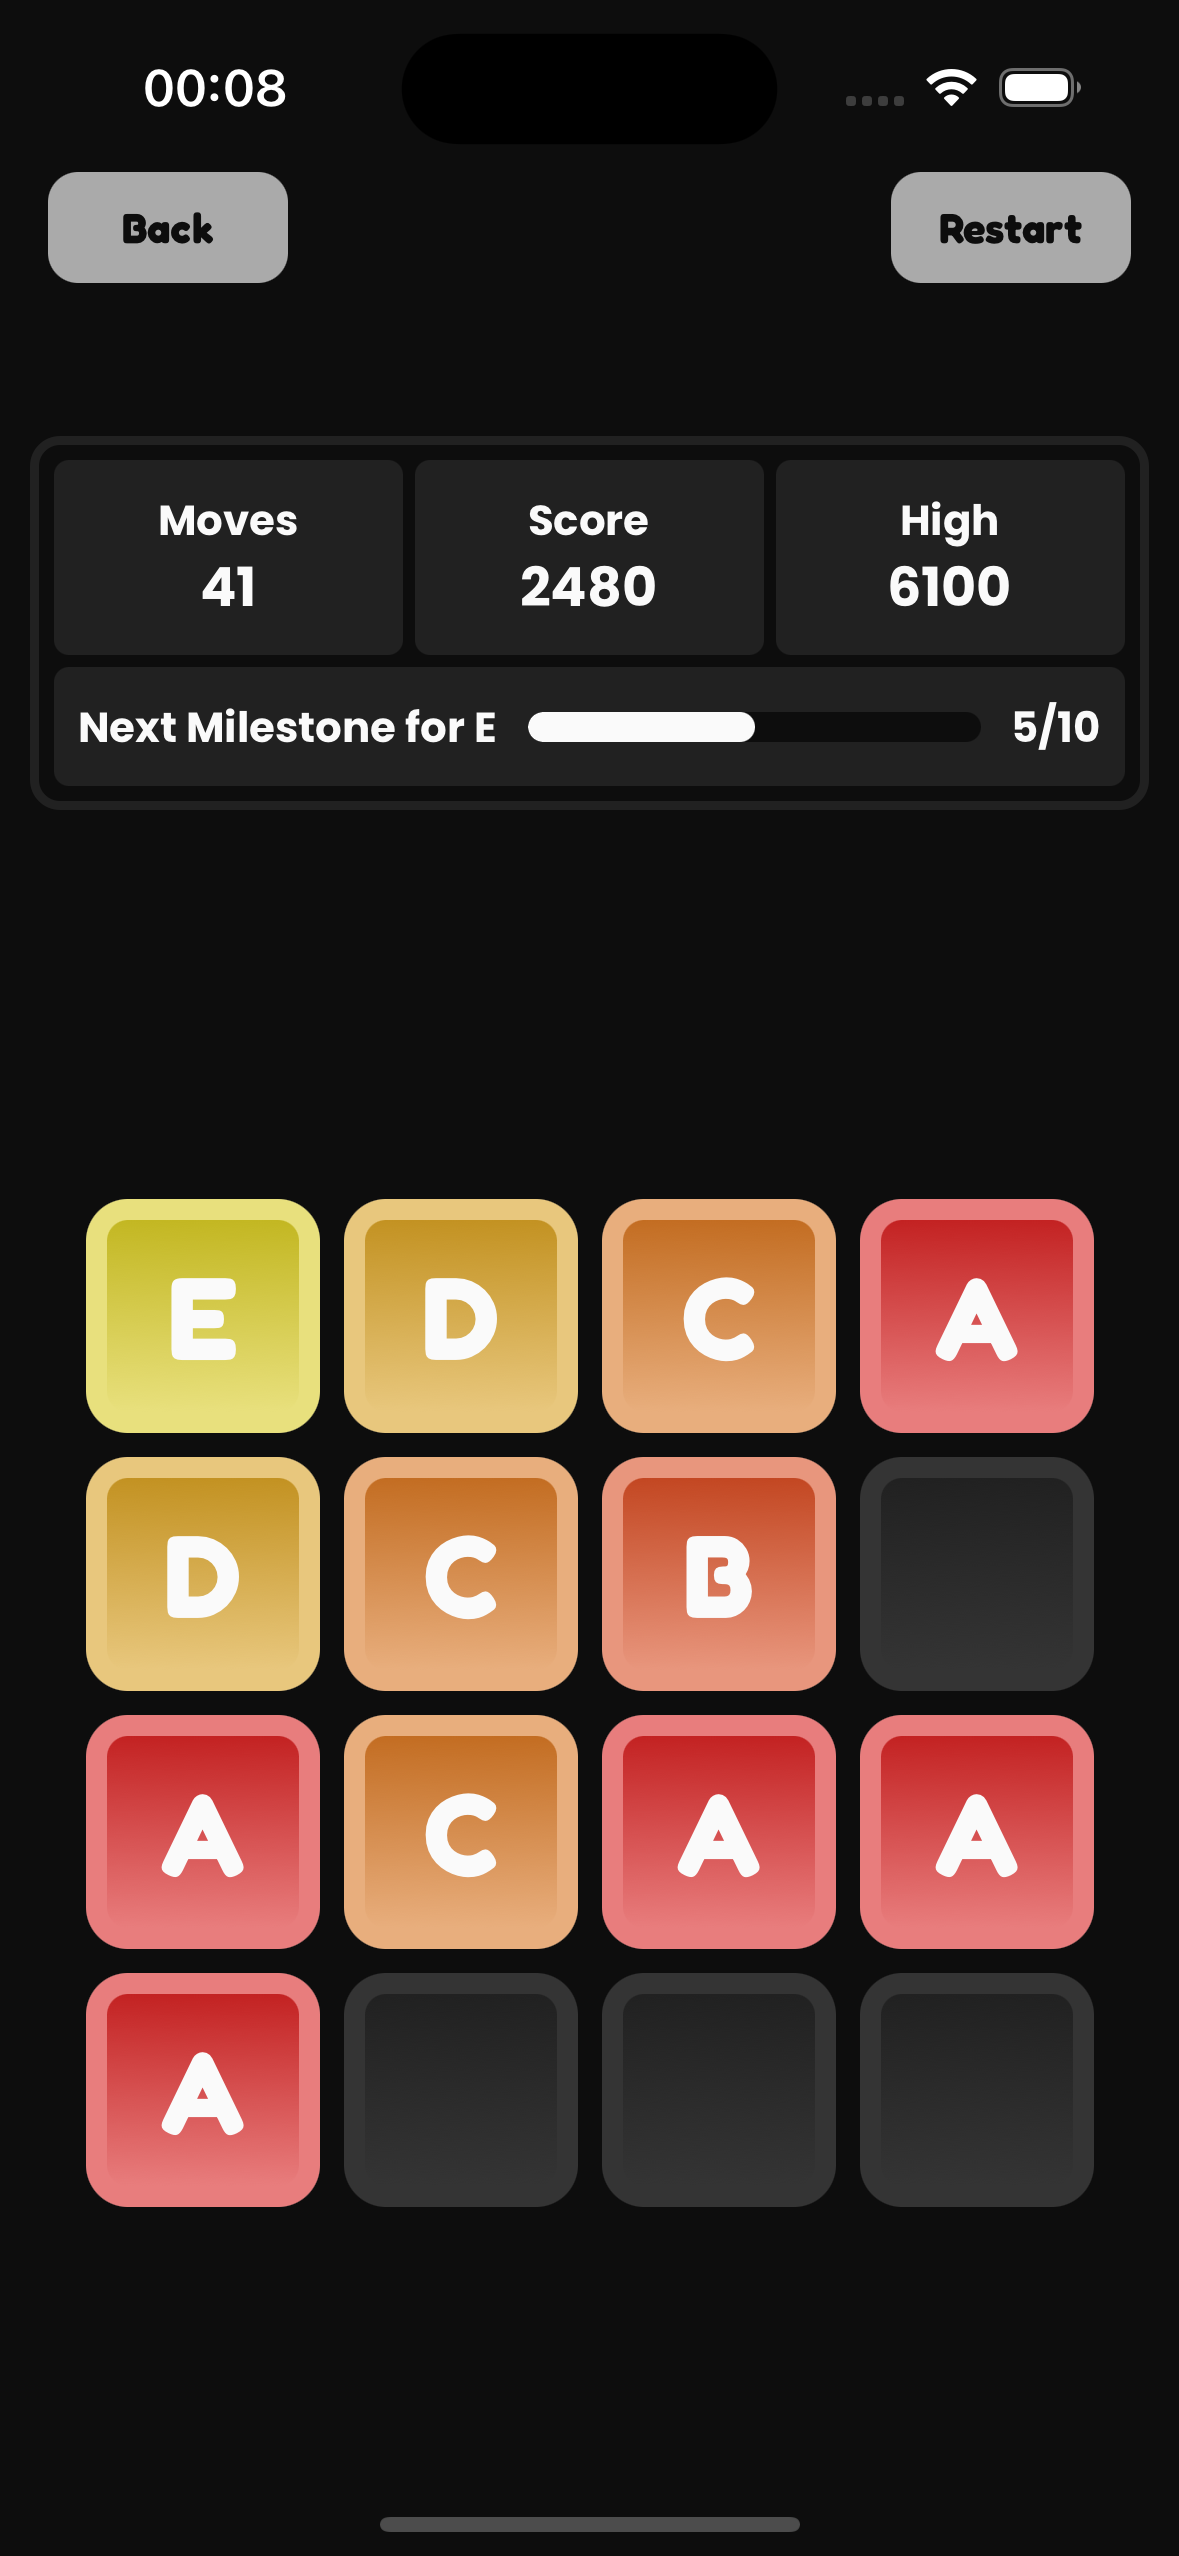
In the game, you start on a board with either 4x4, 5x5 or 6x6 empty tiles. Two “letter-tiles” spawn on random empty tile locations. The spawning letter-tiles can be either an “A” or a “B”. The user swipes either up, down, left, or right. This moves all letters into this direction until they hit another letter or the end of the grid. If the same letters hit during a swipe, they combine into the next letter of the alphabet. So if an A hits another A, they combine into a new letter-tile “B”. After a swipe is over and the matching letters have combined, a single new letter-tile is spawned on a random empty location. Again, this new letter-tile is randomly either an “A” or a “B”. The user continues swiping to reach ever higher letters, and the game is lost when the board is full and no more moves are left, i.e. no more letters can be combined.
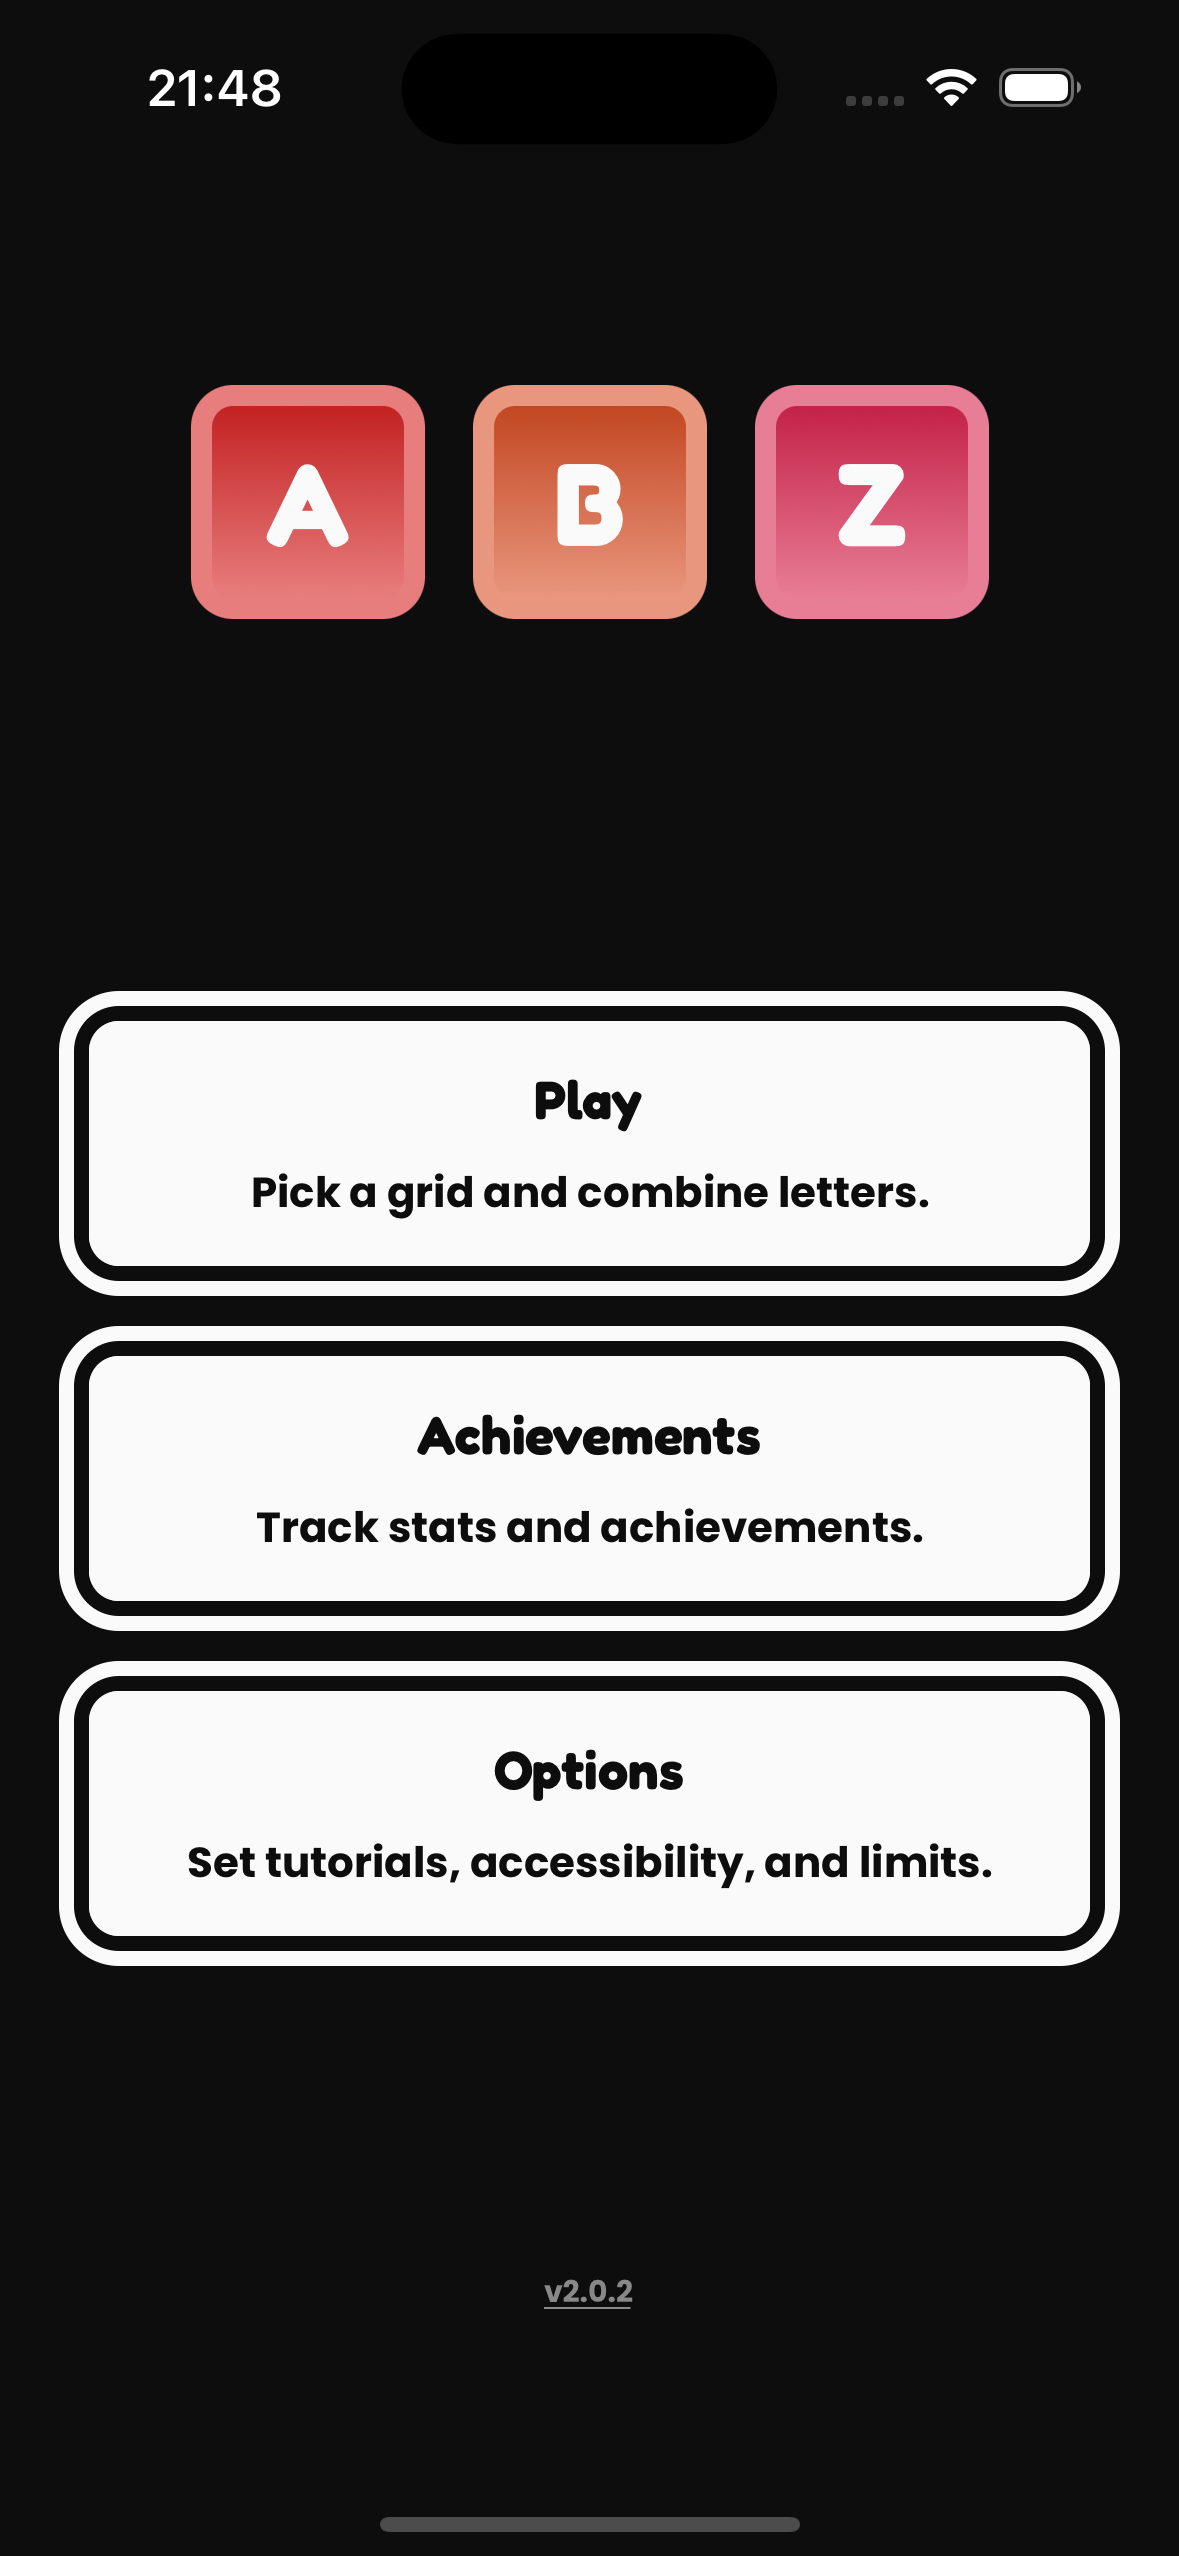
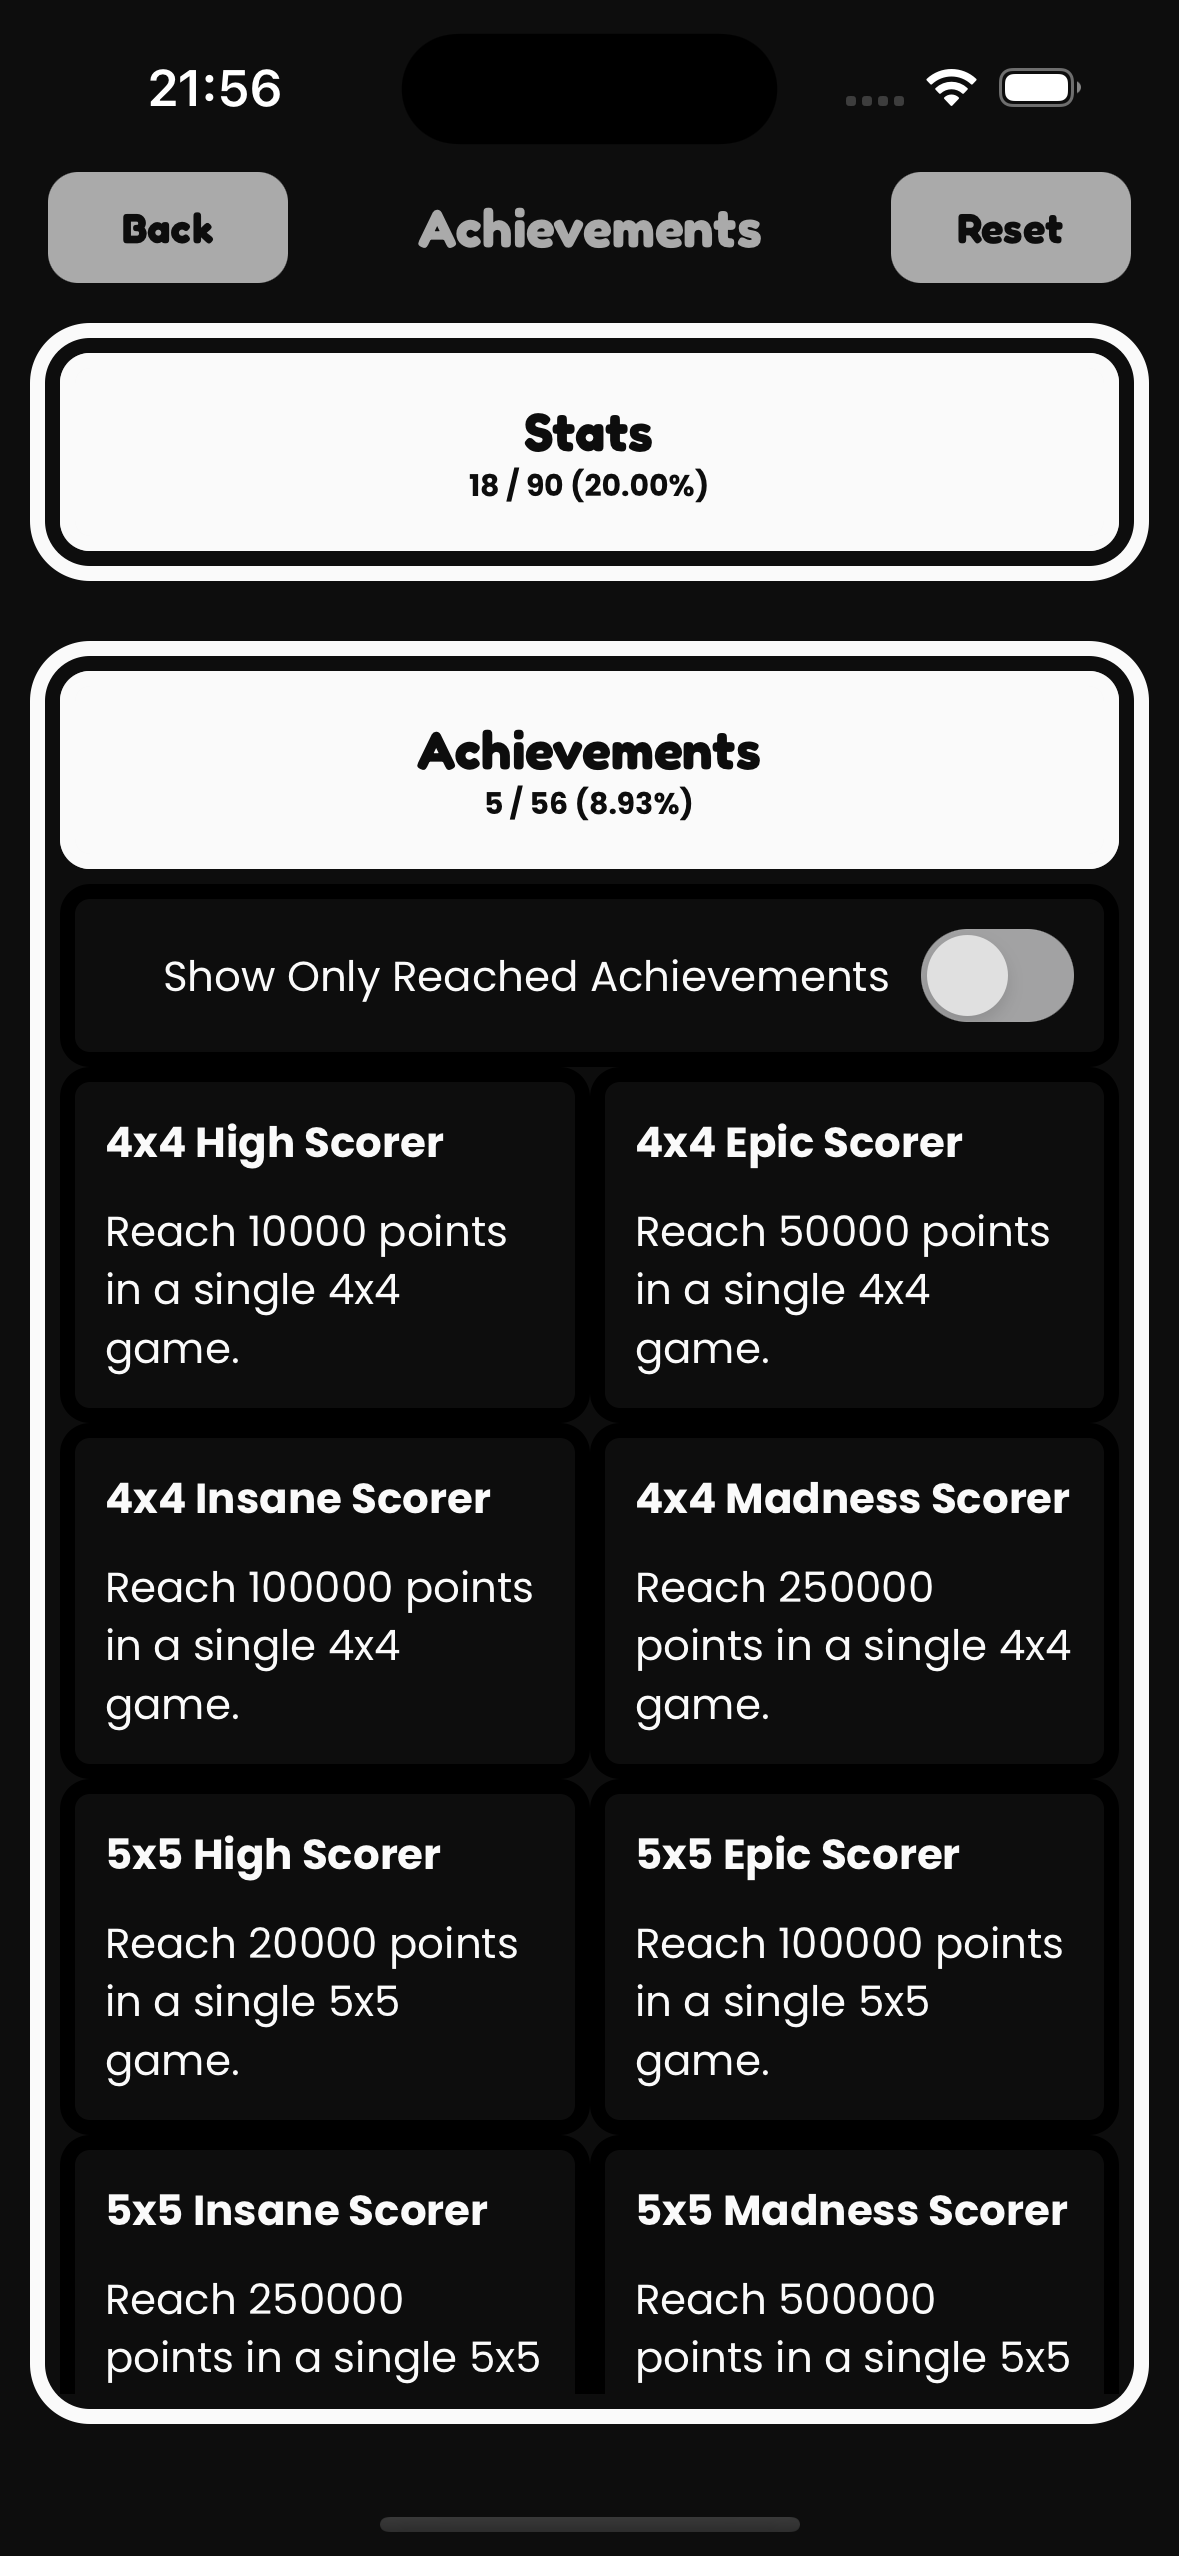
The game features statistics to track overall progress: letters reached, achieved scores, played games and more. There are 56 achievements that a user can unlock, for example playing 100 games or reaching the letter “K”. The app features three options that can be set:
- a daily time limit so users can fight any developing game addiction
- a colorblind mode so letter tiles are more easily readable
- a toggle to show the tutorial screens again
My goal was to develop an easy game that can be played on a long commute, in a packed doctor’s waiting room or during a boring meeting. I didn’t want to over-complicate the game and wanted an easy learning curve.
React Native
I wanted the app to be available on iOS and Android.
The app can be written separately in their respective native programming languages and frameworks, which means double the work. There are options to share some components between the two code bases, but it increases the workload. The other option is to choose a multi-platform framework, where you write the code once and compile for both platforms. This option has some drawbacks regarding native feel and performance, but is in my opinion the better choice when it comes to solo development.
I researched multi-platform frameworks and found the two major players in this field: React Native and Flutter. Flutter is the framework developed by Google and React Native is the framework that originated at Facebook. Flutter uses Google’s programming language Dart and React Native uses JavaScript. I chose React Native for three reasons:
- I already (kind of) knew the programming language JavaScript from my past experiences in web development.
- I already (kind of) knew the “React way” of developing things from using the Rust frontend framework Yew.
- I already (kind of) knew that React Native had a big ecosystem of actively developed libraries.
Flutter would have required learning a new programming language and a new style of designing apps. To keep my learning curve manageable, I opted for React Native. Would I choose Flutter if I started all over again and had no prior experience? Maybe I would try at least writing a simple calculator app in both frameworks to see which one felt more comfortable.
This was way before a third option emerged: Lynx. The new framework is developed by ByteDance, the company behind TikTok. It is still a fresh player in the world of multi-platform app frameworks but worth checking out. I wrote a blog article about it to give a quick overview.
When I started writing code for my app in React Native with JavaScript, I encountered bugs that I didn’t catch during development due to JavaScript’s lack of types. I decided to switch to TypeScript and migrated the entire code base of my app. This took way longer than expected but payed off in the end: no more errors because of incorrect function calls, missing parameters or similar problems. My next app will definitely be developed in TypeScript. I also wrote a step-by-step guide about the transitioning process from JavaScript to TypeScript on my blog.
The game needed some animations for moving tiles across the grid. React Native offers the Animated library and there are also more options. The app encountered some errors with the animation and I had to implement some workarounds and trickery to make the combination of letters appear seamless and not cause performance issues. In my opinion this kind of swiping-game is the maximum of feasible animations that can be achieved with React Native onboard features. If there is need for more game mechanics, especially in animation and rendering, it would definitely make sense to switch to a game engine. Since I didn’t plan on implementing more games, instead continuing with normal apps, I didn’t want to learn a game engine like Godot or Unity on top of learning mobile app development.
Expo
If something can be easily outsourced, it probably should be.
As a solo dev, you write the code yourself. But do you really need to build, automatically test and lint, and submit to the App Store yourself? These steps cost time to setup and automate, and if you do this as a side project, your time is valuable. This is why the Expo framework and the Expo Application Service (EAS) were a no-brainer for me. They offer an easy way to be able to build your app in a cloud environment. Submitting the built app to the App Store is a very easy process and everything can be triggered from the command line.
The EAS free tier of was sufficient for my first app. The free tier offers 30 app builds per month (of which 15 can be iOS builds). I built iOS and Android versions, sometimes repeating the process after installing because I immediately found a bug in the built version. I didn’t program and release every day, so quicker release cycles would definitely hit the free tier limit fast. However, I would still be willing to pay for a higher tier, because the services save so much time. The alternative would have been to build locally and upload the binaries manually and trigger new releases in the respective stores.
Ads
I wanted to try ad-integration for my first ad.
Google told me that Google AdMob is the most popular network for mobile ads. So I believed the ad giant and read more about it. There is a React Native library to integrate Google AdMob ads seamlessly and the registering process didn’t look to complicated. In the end, the process involved a few more steps:
- Creating an account
- Registering the app
- Creating an ad unit
- Integrating the SDK
- Displaying the add
- Going live
What I didn’t foresee: when I registered the app, I had a six-month countdown to actually serve real ads in my app or Google would deactivate the account. I got my first reminder one month before they were going to deactivate the account. In my panic I accelerated the whole development and release process to get the app live as fast as possible. This helped me tremendously to finally finish and release the app. It helped that the app was 90% finished at this point, so there was just some polishing left to do.
The released app didn’t show any ads, despite the integrated BannerAd from the Google AdMob SDK, the configuration with the ID’s setup and my app being registered with Google AdMob. It took some time debugging to find out that I used a native ad unit code, when in fact, I needed a banner ad unit code. In these cases it helps to have proper logging in place.
When the ads were finally live and ads were actually showing up, the money started pouring in. All 2 cents of the money started pouring in. The game doesn’t have a big user base, and there is a rabbit hole of information on Google AdMob mechanics like mediation networks, eCPM, and other systems to learn. I left this for a later point in time.
Errors
No app is built without errors.
Bugs happen. The more complexity is added to a system, the more likely an error will occur at runtime. The earlier errors are caught in the development process, the easier they are to fix and the fewer headaches they’ll cause later on. These practices help in the error-catching-process:
- Automated unit and component testing
- Automated source code analysis via linting
- Type-safe and functional-style programming
- Simple and modular architecture style
My experiences during my professional software development career taught me the value of automated testing. Especially a test-driven approach always turned out to be worth the initial setup time. JavaScript has a testing framework called Jest for unit testing. For bigger components tests, there is a library called the React Native Testing Library (RNTL). Unfortunately I integrated them far too late in the process: using them from the start would have been way easier than squeezing them in as an after-thought. The next app will have a test-driven development approach. I wrote a blog article about the whole process.
Some bugs are only apparent at runtime. The app might be used in ways that can’t be foreseen. The app might be installed on devices with low hardware specs. The app might be used with a weak internet connection. Testing on an emulator is a must. When planning to release for iOS, a simulator for devices comes only with XCode, which is only installable on Mac hardware. The Expo app is also a viable option, as long as there are no hardware-specific libraries that cannot be used in the Expo app - in my case, the Google AdMob SDK. Installing a native test version on a real iOS device can also be done via XCode, or submitting via EAS to Apple and installing the test version via their Test Flight app. This process costs a lot of turnaround time when trying to find bugs: building and submitting via EAS, clearing the version on the Apple developer account, and installing via Test Flight.
There were bugs that were harder to catch, too. Some only appeared on a native built version, some only appeared on a real device. In this case, a connection to the real device and reading through logs or even debugging via Expo’s debugging mechanisms is the only option left. A trial-and-error approach is not recommended. These runtime errors have to be analyzed systematically. If a random configuration change appears to have fixed the bug, because the bug doesn’t appear anymore, it’s not a guarantee that the bug might not resurface in a later release again. Causation doesn’t equal correlation. You want to find the root cause.
Scope
The first app should not overwhelm.
At the beginning I had a lot of ideas regarding modes, features, achievements, and more. I implemented a mode where the user had to collect all letters of randomly picked words. For example, the word was “cabbage” and the user had to get the letter tiles: 1x C, 2x A, 2x B, 1x G and 1x E. Completing a word gave extra points. However, it did not add any extra to the game’s mechanics. The user would still play the original core game and it would just collect extra points. It didn’t change the play style to hunt for specific letters, because letters had to be collected naturally anyway. In the end, I removed this mode and concentrated on the other modes.
I was also thinking about bonus letter tiles. At one point, I already implemented three different prototypes of bonus tiles, for example an erase-any-blocking-tile or a double-any-letter-tile. However, it messed up my core game logic and complicated testing a lot: lots of mechanics, lots of possibilities, lots of breaking points. I decided against it and removed a lot of source code again. At this point, a feature-branch approach would have been better, even for a single developer like me.
The game includes stats and achievements. Newly reached achievements show up as notifications while playing the game to boost motivation. Statistics show how many letters and scores were collected already and how many swipes and games were played. It should give the players some feeling of accomplishment and motivation, and at the same time be easy to integrate in the existing mechanics.
AI
Vibe coding is the new trend, and AI gets involved in any step of the software development process.
At the beginning I tried out AI to help me write the code. The large amount of code written by the AI made it harder to implement new features or to fix errors. It was like debugging and understanding someone else’s code–because that’s what it actually is. I ended up rewriting a lot of components from scratch so I could better understand and control what was going on in my app’s logic.
Last November React Native released a new version to their framework with a new architecture. Expo adopted their SDK shortly after and I switched to this new version. However, the AI models didn’t know the new version of the framework, suggesting outdated code or outright wrong answers. These misleading code snippets took me longer to investigate than actually reading the new documentation properly and writing new code.
AI doesn’t help too much with finding errors directly. At the beginning I tried copy-pasting error messages into the prompt and hoping for a solution. It ended up in a trial-and-error marathon. I went back to a classic search with the error messages and looking for the solution and explanation on Stack Overflow or in GitHub issues. But, AI is helpful to structure the approach to track down errors. It helped me track down an error via the Android Debug Bridge (adb) on a real device and interpret the captured logs.
Nowadays I only use AI for very specific problems or structuring my approach. It helped me learn React Native, but looking back I could have achieved the same with an online course, online teacher or offline book.
Releasing
The whole process of actually releasing the app to the Apple App Store took some additional time. It’s not done with just entering the App’s name and description. There are a lot of other steps involved, for example:
- Writing a short description: this is the actual short marketing text being shown on the App Store search results next to your app, so it has to be engaging.
- Writing the actual description: it involved writing a few paragraphs and structuring the text blocks so that users can get a good textual impression of what to expect from the app. There is no text formatting for these fields, so I had to use uppercase letters for the actual headings for each section.
- Taking screenshots for different devices: I had to submit screenshots for iPhone and iPad, that I had to take from the simulator, since I don’t own an iPad. Other apps also show videos, which seem more engaging–a next step for me is to find out how this works and integrating it on my App Store page.
- Filling out which user data your app uses: this is tricky, since the Google AdMob integration meant that users will be tracked when they are shown ads, similar to ads being shown to website visitors.
- Setting the price: this can be set for each country separately, but since I offer the app for free, it was an easy one for me.
- Linking the privacy policy: The app needs a privacy policy, which needs to be written first and available on the web iva link. There are services offering this for free, but I wanted my own website. This took some extra time to set up: I had to research privacy policies and let the AI formulate all important parts, as well as choose options regarding GDPR in Europe and COPPA in California.
The Google Play Store had a different obstacle: as one of the requirements, the app needs to be installed by 12 different testers before it is eligible for release. Some of my friends and family helped out, but not enough too reach the requirement of 12: I am living in an Apple bubble. There are reddit communities that offer an alternative: you test other people’s apps and they will then test your app, for example r/AndroidClosedTesting. Another alternative would be to find testers on fiverr and pay them to test the app. If you’re reading this and have an Android device, I’d love it if you’d give the app a try — your feedback would mean a lot!
Next
What’s next for me and the app?
-
Bug fixing: there is a crash on a tester’s real Android device. It doesn’t crash on my Android devices. This will be a difficult problem to find, because I have to connect to this device and read through the clogged logs.
-
Marketing: to increase the player base, potential players have to know that the app exists. 1000 apps are released daily. It’s hard to stand out but I’m aiming to post more about this journey on reddit, IndieHacker and Instagram to get potential players to install and play the app.
-
Next app: I have a list of roughly 50 ideas for upcoming apps. If you start writing down ideas, you get into the habit of generating more ideas, and soon you will end up with apps to develop that will take you until your retirement age.
If you have feedback on the app or the process, let me hear it in the comments. And as always: keep on coding and keep on creating!