Master React Native Testing: Unit and Component Tests for Mobile Apps
React Native Unit Testing with Jest and Component Testing with RNTL
Your mobile app needs testing. Bugs will scare away your users. The users will forgive some bugs. They will demand fixes. But they will uninstall if the bugs make a mobile app unusable.
Legacy code is code without tests.
– Michael C. Feathers, Working Effectively with Legacy Code
In this article I will show you two important building blocks of automated testing for React Native mobile apps:
- Unit Testing and
- Component Testing.
Let’s get started.
Why Testing Matters
Integrating tests into your mobile app as an after-thought is hard. But it’s not impossible. So when you write the first line of code for your new mobile app, always think about testing. As your code base grows line by line, so does your set of tests. I’m not advocating a 100% test coverage: this means that every line of code is covered by an automated test. The important core components need to be tested. You have to be confident that the main business logic is working.
Testings becomes even more important if there is more than a single developer working on the code base. Tests help other developers understand what the code is supposed to do. Tests are part of the documentation. Understanding a code base for new developers is easier when they start by writing new tests. Tests will get better if they’re not exclusively written by the author of the code that’s being tested. More authors will improve the variety of test cases and also improve code ownership.
Start Small: Unit Testing
Every test journey begins with a single test step.
Start with unit tests. But what is a unit? A unit is a separate block of code that can be isolated from the rest. In React Native and JavaScript, that could be a class or a file with utility functions. I like to keep it simple and have a unit test file for the source code files that I want to test.
The unit testing framework Jest is widely used and recommended. You install it in your React Native project via the following command (if you created your mobile app with react-native version 0.38, Jest is already included, or if you’re using Expo like I am, you should follow the guide to install jest-expo instead):
npm install --save-dev jest
Your project’s package.json file should include the following configuration:
{
  "scripts": {
    "test": "jest"
  },
  "jest": {
    "preset": "react-native"
  }
}
In my mobile app ABZ Game I’m using a function to generate a sequence of random letters. The length of the sequence is determined by a given parameter length. This method is a perfect fit for unit testing:
- it’s isolated,
- it doesn’t have side-effects,
- and it can be called without initializing anything.
// Generates `length` random letters, avoiding excluded words
export function generateRandomLetters(length = 3) {
  // ...
}
The function is in a file called letter.js within the project’s ./src/util/ folder. So let’s create a __test__ folder parallel to the file being tested. Within this folder, a new letter.test.js file will reside. This is where all the unit tests for the functions within the letter.js file will go. Within this unit test file, the first unit test for this function will look like this:
test("Generate three random letters", () => {
  const generated = generateRandomLetters(3);
  expect(generated.length).toBe(4);
}
But this test will fail!
Within the first line, the function call generateRandomLetters(3) will generate an array of three random letters. The second line will test if the length of the generated array is four. So why not test for a length of three, when the function was called with three as parameter? Because you should intentionally make your first test fail. This will verify that your unit test is running. Then you refactor to make the test pass. Since the method already exists here, we’ll adopt the unit test. Read this short summary of test-driven development by Martin Fowler (the original author of test-driven development was Kent Beck, but Martin Fowler has a very nice concise sum-up).
Run the unit tests with this command:
npm test
This command will output the failed and passed tests:
 FAIL  src/util/__test__/letter.test.js
  ✕ Generate three random letters (1 ms)

  ● Generate three random letters

    expect(received).toBe(expected) // Object.is equality

    Expected: 4
    Received: 3

      4 |   const generated = generateRandomLetters(3);
    > 5 |   expect(generated.length).toBe(4);
        |                            ^
      6 | });
      7 |

      at Object.toBe (src/util/__test__/letter.test.js:5:28)

Test Suites: 1 failed, 1 total
Tests:       1 failed, 1 total
Snapshots:   0 total
Time:        0.206 s, estimated 1 s
Ran all test suites.
After you confirmed that the tests go through (but fail), you change the test to the actual expected value (in my example: three). Then you can run them again and confirm that the unit tests pass (or something went wrong). When adding unit tests to existing code I prefer this method even if it requires an extra step. I only add this extra step for every new unit test I write. If I am extending existing unit tests, I usually don’t include the extra round.
test("Generate three random letters", () => {
  const generated = generateRandomLetters(3);
  expect(generated.length).toBe(3);
}
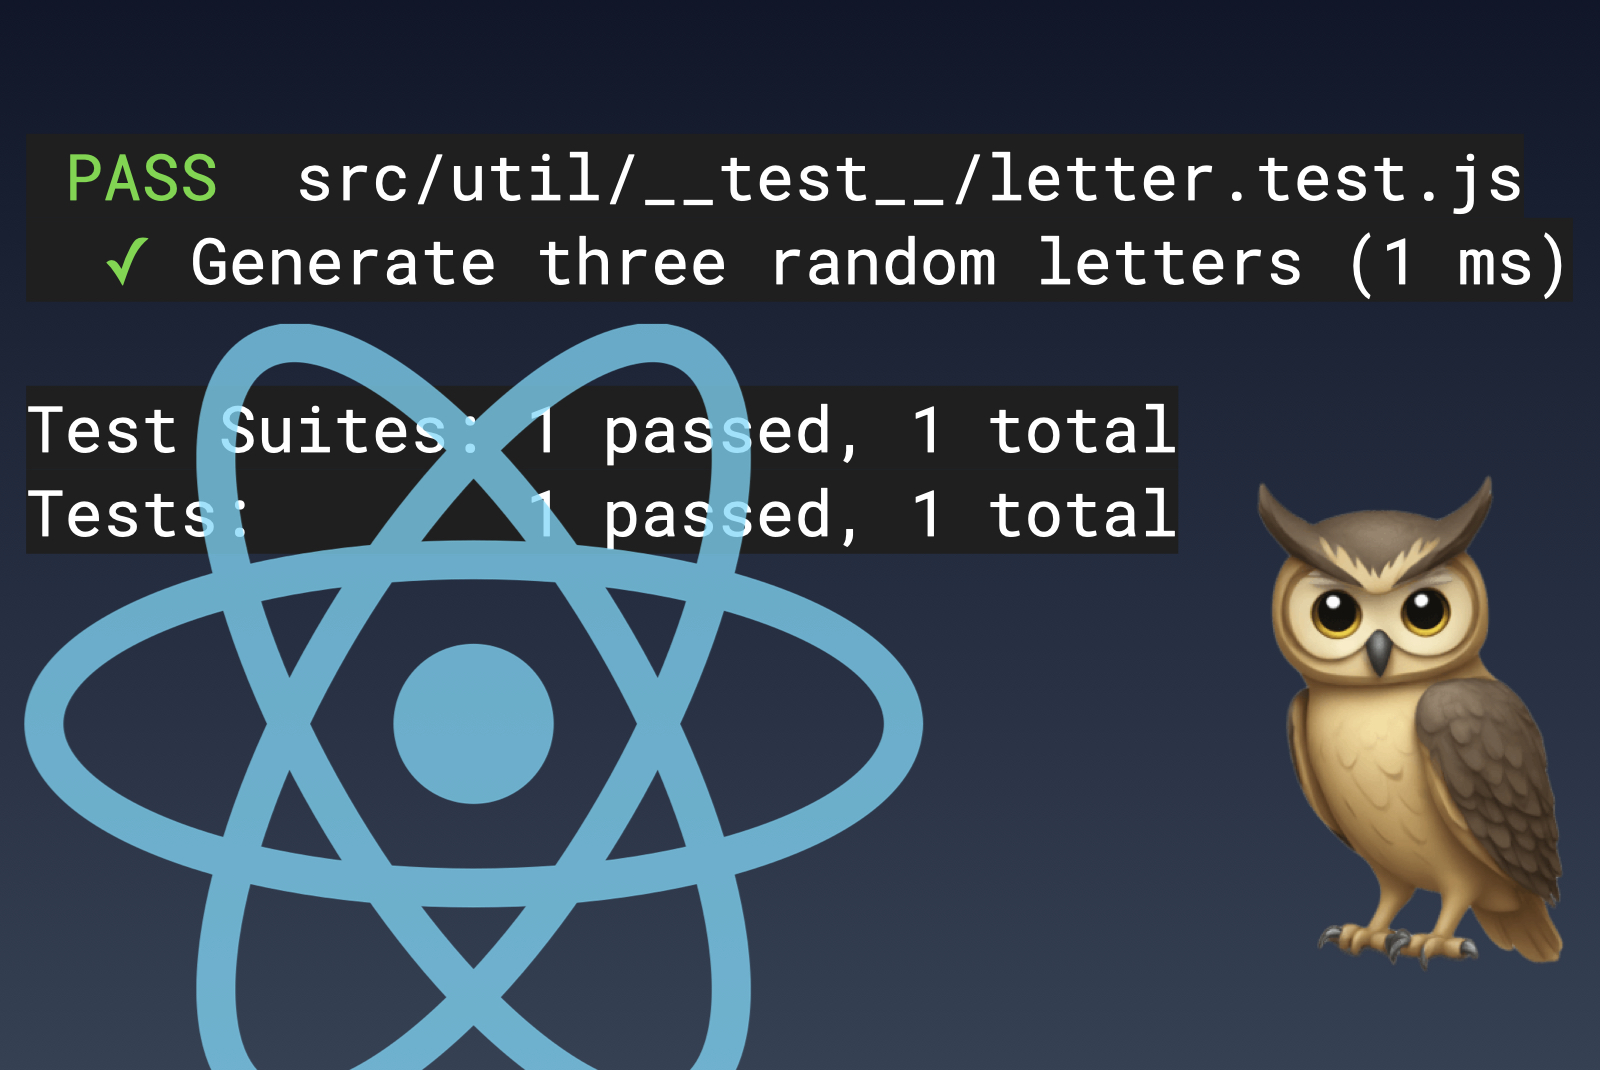
 PASS  src/util/__test__/letter.test.js
  ✓ Generate three random letters (1 ms)

Test Suites: 1 passed, 1 total
Tests:       1 passed, 1 total
When your first unit test passes, you can give yourself a pat on the back. This is your first step in the right direction: writing higher quality source code. From here on you can expand your unit tests, include more files, test more functions. Remember to test one functionality at a time to keep the unit tests concise.
When you’re ready, it’s time to test whole components.
Think bigger: Component Testing
What’s the goal of component testing? We want to ensure components render and behave as expected. We’ll use the React Native Testing Library (RNTL) to achieve this. This library makes it easy to test a whole component without having to write test code for the whole rendering logic by hand. The RNTL integrates seamlessly with Jest, the unit test framework we used before. Start by installing the RNTL:
npm install --save-dev @testing-library/react-native
Be aware that the RNTL depends on the react-test-renderer library and this library’s version needs to match the version of React that you’re using. For example, if you’re using React 18.3.1, you can install the according library version like this:
npm install --save-dev react-test-renderer@18.3.1
If you create the component tests inside an already existing mobile app’s code base you probably have to adapt some things to get RNTL running. Troubleshooting can be done via their documentation or Stack Overflow. I’ve had to do the following to overcome the testing issues:
- Mock the
react-reduxfunctions - Adapt the
transformIgnorePatternsin ajest.config.jsfile - Fix the
presetpath also in thejest.config.jsfile
I am not 100% sure if this was related to actual code issues or my test setup not being created with the mobile app initialization. But it’s worth fixing the initial issues. It’s easier if you’re already starting your new mobile app with the component tests so you can adapt the configuration as you go.
My mobile app ABZ Game has a component called GameTile. This component displays a letter inside a rectangle with rounded corners and a linear gradient background. These tiles can be moved on the game grid and turn into the next letter of the alphabet when combined. I needed a component test for this central game element. Similar to unit tests, I created a __test__ folder next to the component’s file and named it GameTile.test.js. The content follows the Jest unit test structure.

First, you want to import the necessary RNTL methods and the component you want to test.
import { render, screen } from "@testing-library/react-native";
import GameTile from "../GameTile";
Then some functionality has to be mocked (others call it faked). Without mocking these methods, the unit test would fail. In my case it was the state management methods from the react-redux library.
jest.mock("react-redux", () => ({
  useDispatch: jest.fn(),
  useSelector: jest.fn(),
}));
Now you can write the actual test method. The render(...) method renders the component that needs to be tested. You pass the same properties as you would in production code. After rendering you retrieve the child elements that you want to test. I was trying to make sure that the GameTile for the letter Z was actual displaying this letter. I did so by retrieving the element by text, testing if it’s not null and testing if it contains the actual text content “Z”.
test("GameTile to contain letter", async () => {
  render(<GameTile letter={"Z"} />);
  const letterElement = screen.getByText("Z");
  expect(letterElement).toBeTruthy();
  expect(letterElement).toHaveTextContent("Z");
});
You can read more about querying the screen in the RNTL documentation. This framework offers a lot more possibilities for testing:
- Triggering user events like mouse clicks
- Firing non-user events like
onChangeText - Using async utilities like
waitFor
Start by testing small components first and expand your component tests from there.
Lessons Learned, Key Takeaways, Best Practices
So what can we take way from this?
First: zero testing is like flying a plane without instruments. It is possible, but not recommended. Second: start writing tests early on. The earlier you start, the easier it is to reach good test coverage. Third: getting your code ready for testing is worth your time and nerves. Even if it needs additional configuration, mocking, or other workarounds.
You should have a look into test-driven development to get a test-first mindset. You can’t measure the time saved by bugs that never surfaced because they were caught by test automation. But you’ll sleep easier at night knowing that the most important components of your mobile app are covered by test automation. You’ll write code with more confidence when you know that this little code change probably won’t cause any unnoticed crashes in other components.
Don’t be fooled by test coverage numbers either. Don’t strive for a 100% test coverage. Ensure that the most important components and core business logic are covered by test automation. When you know your way around your own code base (you should!), you know which are the important parts. These are the parts that need to work correctly. And to be sure that they work correctly every time the best choice is to write tests for those parts.
If you encounter a bug that wasn’t caught by tests, write a test that would’ve caught it. Commit and push the fixed code together with the test code. Then take a satisfied sip from your coffee, knowing that this bug will not occur again.
Don’t commit and push code that does not pass tests. Sometimes it might seem easier to “temporarily” disable tests so you can push code to production quickly: don’t! That’s a slippery slope to unmaintainable legacy software.
Conclusion
I hope this article helped you in getting your mobile app test-ready. I hope your tests contribute to your mobile app’s quality. And I wish you best of luck with your (now hopefully widely tested) mobile app!
And as always: keep on coding and keep on creating!